Screen recording on Mac has become an essential function for many users, whether for creating tutorials, conducting webinars, or capturing gameplay. Consequently, understanding how to stop screen recording on Mac is just as crucial as knowing how to initiate it. Without this knowledge, you might unintentionally record more than intended or miss saving your essential video. This guide will explain the built-in features of Mac for screen recording, along with third-party applications, and provide solutions for common issues.
Overview of Screen Recording on Mac
Built-in Screen Recording Features
The Mac operating system offers several built-in features for recording your screen effortlessly. The two most popular methods include:
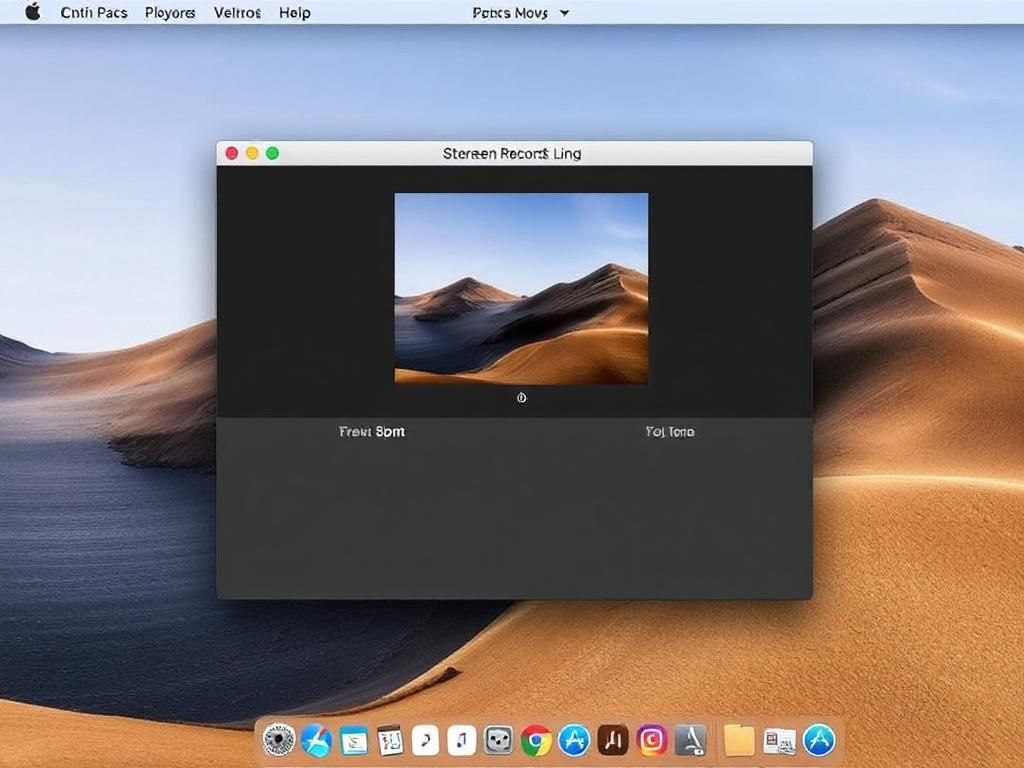
1. **QuickTime Player**: This versatile media player allows you to record your screen quickly, offering options for recording the entire screen or just a portion.
2. **Screenshot Toolbar (macOS Mojave and later)**: By using this tool, you can easily access screen recording functions by pressing Cmd + Shift + 5. This feature not only enables recording but also allows for capturing still images of your screen.
Third-Party Applications
A variety of third-party applications enhance your screen recording experience on Mac. Some popular applications include:
– **OBS Studio**: A free and open-source software for live streaming and recording.
– **ScreenFlow**: A highly functional video editing tool that integrates screen recording.
Understanding how to stop screen recording on Mac is vital regardless of whether you use built-in features or third-party applications.
How to Stop Screen Recording Using Built-in Features
Stopping Recording with QuickTime Player
To stop a recording in QuickTime Player, follow these steps:
1. Locate the QuickTime Player icon in your Dock and click on it.
2. Once you have completed your recording, click the red stop button on the top menu bar.
After stopping the recording, you have two options:
– **Save**: Choose File -> Save, and select your desired location.
– **Discard**: If you wish to delete the recording, simply close the window and select ‘Don’t Save.’
Stopping Recording with the Screenshot Toolbar
To stop screen recording via the Screenshot Toolbar, take the following steps:
1. Press Cmd + Shift + 5 to open the toolbar.
2. Click the stop button on the floating toolbar that appears on your screen.
Moreover, for file management, the recordings are automatically saved to your desktop or the specified directory.
How to Stop Recording in Third-Party Applications
Steps to Stop Recording in OBS Studio
Using OBS Studio requires a different approach. Here’s how to stop a recording:
1. Open the OBS Studio interface.
2. Click the “Stop Recording” button located on the bottom right corner of the window.
Once you stop the recording, OBS prompts you to choose a location file for your video. You can then access it later for editing or sharing.
Stopping Recording in ScreenFlow
For users of ScreenFlow, the procedure is precise:
1. Click the Stop Recording button that appears in the menu.
2. A dialogue box will pop up asking if you want to save the video. Select your preferred option and save it.
With both applications, saving your work is crucial to prevent losing recorded files.
Troubleshooting Common Issues
Recording Not Stopping
If you encounter difficulties with recordings that won’t stop, consider the following potential causes:
– Application glitches: Occasionally, software malfunctions can prevent you from stopping the recording.
– Keyboard issues: Ensure that your keyboard is functioning correctly; sometimes, a stuck key can hinder commands.
In such scenarios, an immediate solution is to force quit the application:
– Press Cmd + Option + Esc and select the application that needs to be closed.
Lost Recordings
Losing recordings can be frustrating. If you find an unsaved recording, first check your temporary files. Sometimes applications automatically save in hidden folders. If you realize the recording wasn’t saved at all:
– Search your computer for unsaved files using Spotlight search.
– To ensure this issue doesn’t happen in the future, regularly verify that your recordings are saved in an easily accessible directory.
Additional Tips for Effective Screen Recording
Preparing Before Recording
Before you begin to record, preparation can make a significant difference:
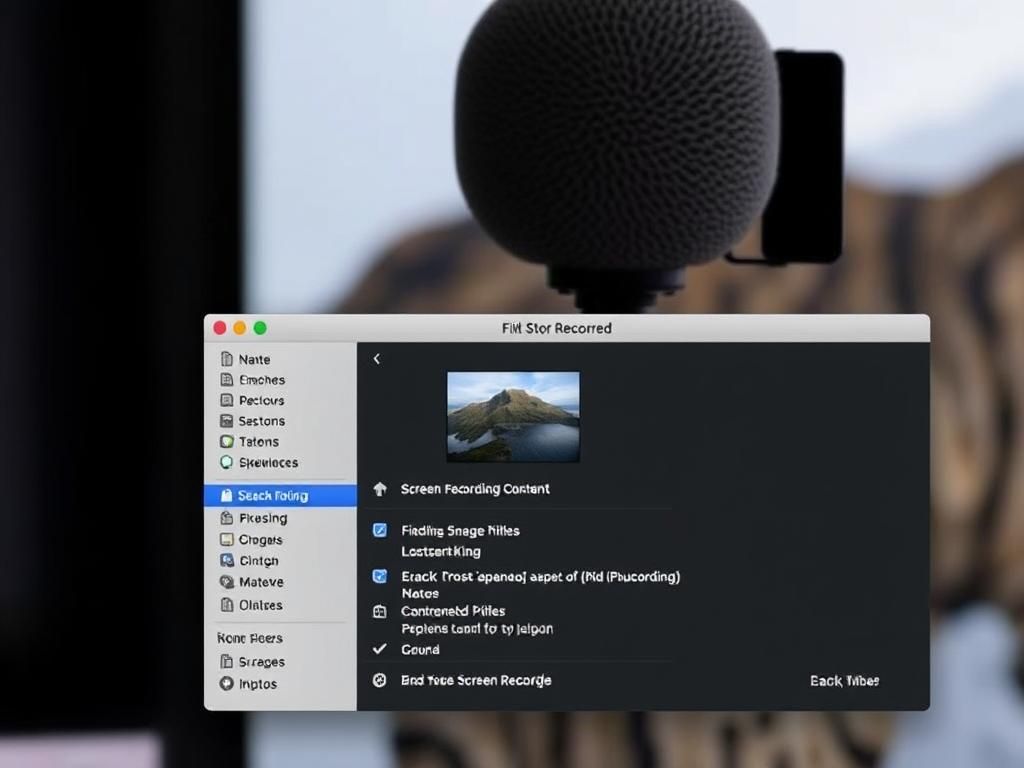
1. Check settings and storage space: Ensure you have enough disk space for the length of your recording.
2. Set up audio and video preferences: Adjust your microphone settings and ensure your screen resolution is optimal for recording.
Post-Recording Tips
Once you’ve completed your recording, these tips will help enhance your workflow:
– Editing and Sharing Recordings: Use editing software if necessary. Add captions or trim unused sections for a polished final product.
– Backup Options: Consider utilizing cloud storage solutions, such as iCloud or Google Drive, to have a second copy of your recordings.
Summary of Key Points
| Feature | Step to Stop | Save Option |
|---|---|---|
| QuickTime Player | Click Stop Button in Menu Bar | Save or Discard |
| Screenshot Toolbar | Click Stop Button in Toolbar | Auto-Saved on Desktop |
| OBS Studio | Click Stop Recording Button | Save Location Prompt |
| ScreenFlow | Click Stop Recording Button | Save Option Prompt |
Frequently Asked Questions (FAQ)
1. How do I access the screen recording features on my Mac?
You can access screen recording features through QuickTime Player or via the Screenshot Toolbar by pressing Cmd + Shift + 5.
2. What do I do if QuickTime Player won’t stop recording?
Try force quitting the application by pressing Cmd + Option + Esc and selecting QuickTime Player.
3. Is it possible to recover unsaved recordings on a Mac?
Check temporary files through Finder or Spotlight search for any unsaved recordings.
4. Can I edit my screen recording after it’s completed?
Yes, you can use editing software like iMovie or ScreenFlow to edit your recorded videos.
5. How can I ensure my recordings are saved correctly?
Set the desired save location in your application preferences and remember to save all recordings immediately after stopping.
6. What is the best third-party application for screen recording on Mac?
It varies by need, but both OBS Studio and ScreenFlow are popular choices, offering extensive features for various users.
7. Do I need additional hardware for screen recording on Mac?
Typically, no extra hardware is needed unless you want to capture high-quality audio-visual content.
8. How long can I record on my Mac?
The length of the screen recording depends mainly on your available storage space on the Mac.
9. Can I record system audio while using screen recording?
Yes, you can configure settings in third-party applications like OBS Studio to capture system audio.
10. Will recording my screen cause my Mac to slow down?
Depending on the specs of your Mac, running heavy screen recording applications alongside other tasks can slow down performance temporarily.